Wasp Barcode Technologies: The Barcode Solution People
Design in a Pinch: How to Make Great Collateral with Microsoft Word
It always seems to happen when you’re least prepared: someone in your business needs collateral for an event or customer meeting – tomorrow. Maybe your small business doesn’t have an on-staff graphic designer, or maybe your graphic designer just took a much needed vacation. Either way, you’re left wondering: Now what?
Don’t panic. With just a little bit of patience, basic knowledge of Microsoft Word, and these tips, you can create something worth sharing.
Craft your concept.
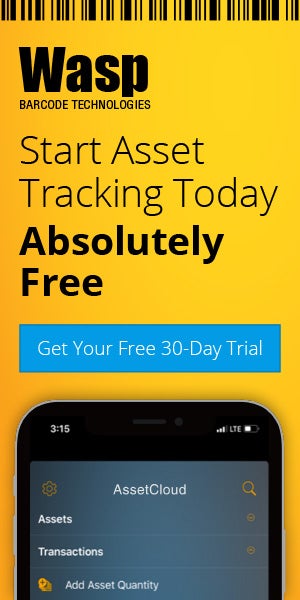
Create an outline for the document. Include essential elements like a headline, body copy, call to action, and images. When you’re writing content for collateral, shorter is better. Stick with bullets where you can, so the reader isn’t overwhelmed by the amount of content on the page, and make sure your call to action follows the 3 Cs: clear, compelling, and concise. When it comes to choosing a layout, you can start with a template from Office Online, or you can create your own from scratch. Here’s what we put together using a template – without assistance from our graphic designer.
Make room for must-haves. When you’re planning out your flyer, make sure you’ve got space for basics like your company logo, website, and phone number. Adding social media logos lets your readers know how to find you outside of the traditional channels.
Keep it cohesive.
When non-designers are tasked to create collateral, the instinct is often to include a plethora of different font styles and colors. Stifle your instincts and work with a single font family, using the bolded version to highlight only the most important information, and a bigger font size for your headline. This ensures that your readers can discern the most important elements – like the headline and call to action – from the rest of the content. Be sure that images and templates jibe with colors in your logo, and keep in mind that most template elements can be color-adjusted to meet your needs.
Entertain the eyes.
Images engage your viewers, break up content blocks, and help your users understand the context of your product or offering. Product images are a great addition to your collateral, but “lifestyle” images that show your products or services in use are even better. If you don’t have access to product images, websites like iStockphoto, Shutterstock, and Photos.com .com are good places to look for images that relate to your offering. You can also find images in Office Online.
Go for the vertical.
Whether you’re choosing a template or building your own design for an 8.5 x 11 flyer, our graphic designer recommends sticking to a vertical orientation. We’re all accustomed to reading from the top down, so it’s a more intuitive layout for your readers.
Any collateral you create in Microsoft Word is easy to print on your office printer. If you’d like to send the flyer off to a mass printer, be sure to convert it to a PDF first – most printers won’t accept Word documents.
Have you knocked it out of the park with some DIY marketing collateral? Or does the thought of attempting to create a flyer strike fear in your heart? Share your thoughts in the comments!